Thursday, October 31, 2013

Class 8, Powerbullet: Assignment 4, posted for review, prior to midnight, extension.

 http://megaswf.com/s/2617587
So this one was a harder birth. After a couple of hours and many retries I've been unable to isolate or fix the bug with my backgrounds. As my progress screenshots prove they are all different colors but they upload all as one. I tried another Flash uploader for same result and the export preview. Just seems like there is something hokey and I have this deadline at midnight. Anyhow I think this should satisfy all the requirements. Notice the thing that switches images is a really tiny arrow at the bottom since I am using a much higher resolution canvas 1980x1080 aka 1080p. I work on a 2560 monitor, feel free to hate me a little. Anyhow the last page the image animation I added some text since it fit the theme but didn't animate it since that's against the assignment (figured it was safer). Anyhow long live the Pooh Bear, always my favorite, BBB 4evah yall etc. etc. Number 4 I'm done.

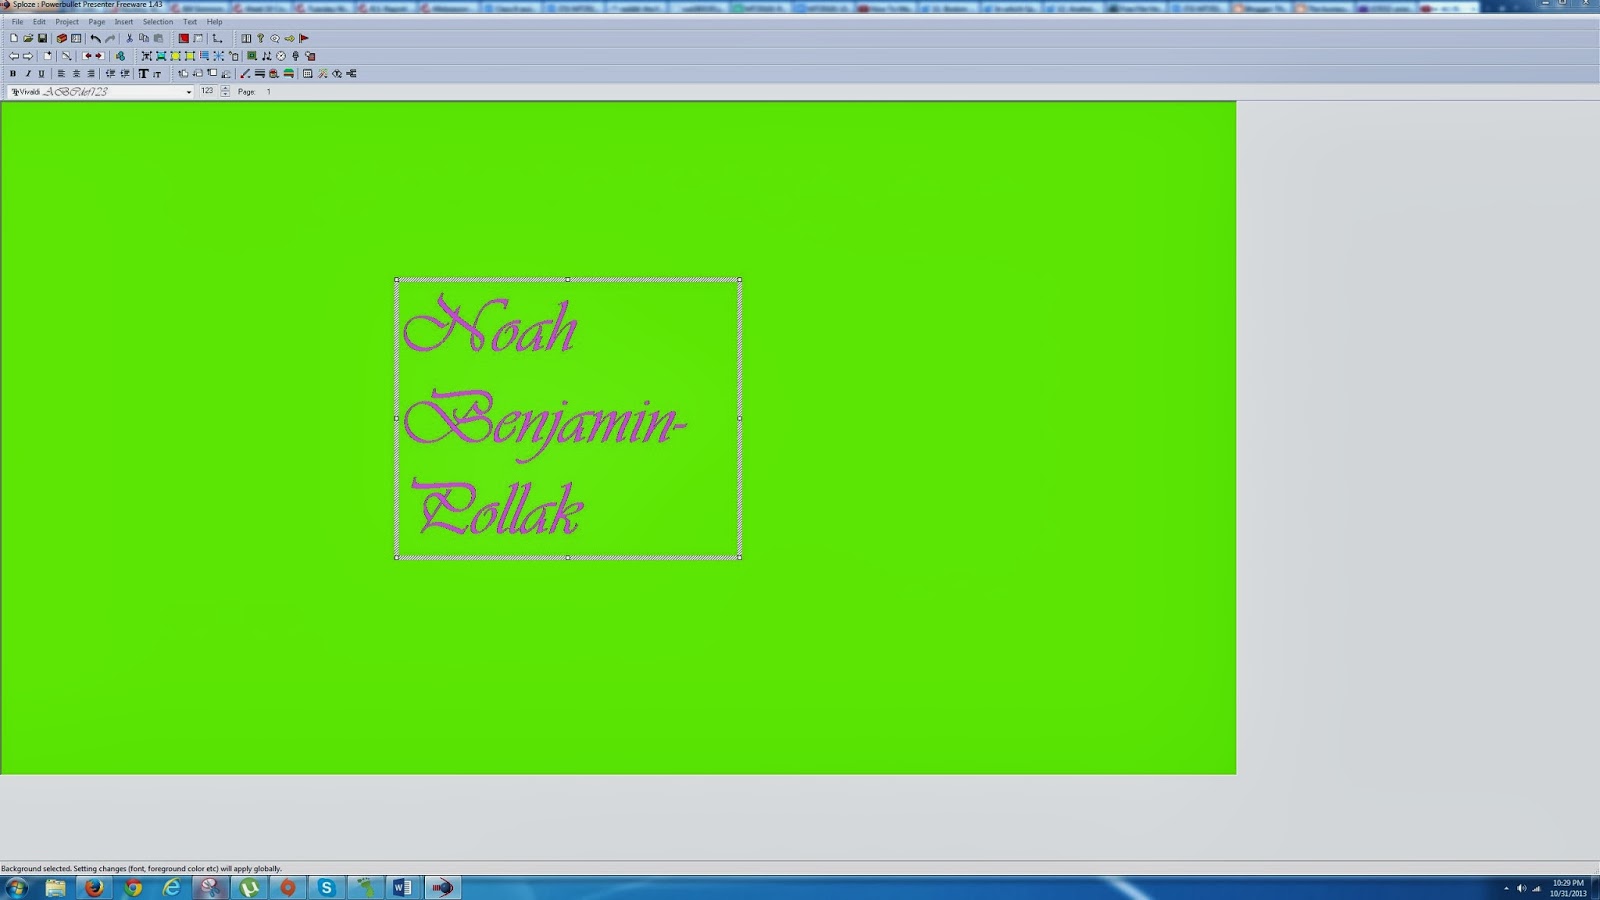
Link at bottom of page for SWFCabin upload to prove that the bug is not on my upload site but in the program itself. Also SWFCabin is sooooo much amazingly better, I'm never using MegaSWF again. I wish I could go back and change them all but its getting too late.
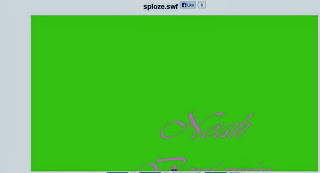
Link below or click on image above below the link progress screenshots...
http://megaswf.com/s/2617587

Progress screenie one for slide one, decided to change the font because I forgot I had used times new roman.


Go Bruins!

Class 8, Powerbullet: Assignment 3, posted for review, prior to midnight, extension.

http://megaswf.com/s/2617575
For this one I had to create an animation using powerbullet of a bitmap image. I used this awesome google glass product photo. The image was so pretty I decided to let it stand alone and changed to a simple gray background. Big news for this one though is I figured out how to make the canvas bigger so things are much more pretty and less cramped. This is getting to be a cool program after figuring out how to use it with a couple of hours of tutorials. I prefer Shockwave Flash though despite not having used it since before Adobe Bought macromedia (which means I'm probably a super noob). It just seemed like much easier and smarter animation software. For no real reason but variety I decided not to loop this one. More expensive though but free in computer lab. As always to view my animation click on the above image or click this link below...
http://megaswf.com/s/2617575

In progress screenshot.


http://blog.sonic-lux.net/wp-content/uploads/2008/12/1234105644968.jpg

Class 8, Powerbullet: Assignment 2, posted for review, prior to midnight, extension.

http://megaswf.com/s/2617558
So for my second Powerbullet animation I had to make a square. Give it a colored outline, and make it travel AT THE SPEED OF LIGHT! I did that and more, in fact it is a little too zippy but I got it to change size during travel. Click the top image for link or go to http://megaswf.com/s/2617558

This is a simple in progress screenshot. Interestingly the colors look slightly different in powerbullet. Pretty non-consequential though.

Class 8, Powerbullet: Assignment 1

http://megaswf.com/s/2617546
 This is my first animation, pretty plain I know, but SUPER COOL! Or maybe I'm a little too jazzed up but I did make it. The text is navy blue because it is an awesome color. The font is Times New Roman because it is a great font and too many people don't appreciate it because it is so used. There is a reason, TNR ROX! or is super readable anyhow. Please click on the above image to see the animation or go to http://megaswf.com/s/2617546 to view it.

An in progress screenshot. In this case choosing the animation.

Thursday, October 24, 2013

Class 7, FINAL PREPARATION: Choosing a JavaScript programming track.

Go to this link...

http://anonymousinsider.blogspot.com/2013/10/class-7-final-preparation-choosing.html

Thursday, October 17, 2013

Class 7 Part B Strokes

My strokes, hope it is right.

Class 6, Step 4 - Part 3

Here is how I did the coin in Word:


I started the same way as the silver dollar, by tracing lines over the original image. I zoomed to help me have more control.


Then I added the text. I chose to hand draw and adjust the thickness of the line


Here it is with all of the tracing on top of the coin


Here is my final coin with the original removed and a light gray fill added. I'm very happy with the result. I especially like the stars

Here is my coin in GIMP:
 ORIGINAL:

 Here I am using the tracing method again by using layers

 Detail of the numbers
Here is the final coin! I'm really happy with how it turned out!

Class 6 Step 2 Part 1

 I started by tracing the lines over the coin as a
 guide


I then removed the guide and I was able to see my lines!

Then to finish I added a fill to make it look like a coin. I thought it was pretty good for a first shot! 

Here is the coin in GIMP:
here is the original
Here I'm doing the detail tracing over the image. I found Gimp was a lot easier to use the line tool in.

 Here is my coin fully traced
 I added the circle to make it look like a coin

 
There were definitely pros and cons for each method. I thought Gimp was easier to use, but I wasn't as happy with the result.

Midterm #8


Below please find the starting ending and in progress screenshots of me editing a photo from last winter of my beautiful lady-friend and me in Harvard Square. I left her perfect face as is but I had some ugly blemishes, bags under my eyes and as she added half way through "that ugly unibrow" that just had to go. Hope you like it.

 Starting image
 In progress removal of bag one
 In progress removal of bag two
 Removal of blush on cheeks
 Disastrous attempt one at removing unibrow (it looks like a bird crapped on it)
The gorgeous finished product.


In this assignment I began by taking an image of myself and Laura Murray my awesome girlfriend. I used the blur and smudge tools to "clean up" my face in that image. In my final product, I hope you'll notice the difference in my unibrow being gone, my bags under my eyes reduced, and a reduction in the out of control blush in my left cheek. This is a midterm exercise from the Immersive Education course that I am taking at Boston College. The course is called Discovering Computer Graphics. For details, visit the immersive BC portal at http://ImmersiveEducation.org/@/bc

Midterm #7

Below is my starting image followed by in progress shots of my 7th midterm which involved editing the image of a famous person (in this case Vladimir Putin) in GIMP.
My Starting image
 Editing in GIMP
 Adding the eyes
 Adding the black box
 Adding first text
 Adding second text (above)
 Adding third text (Below)
Final Product (Above)
Updated Final Product due to comments (below)

Here I began with an image of a famous person (the great and goofy Vladimir "Pooty" Putin). I then resized the image over his eyes and used the eclipse tool on it. Then I used the rectangle tool to create a banner to put my text on top of on the bottom of the image. I used different fonts and colors and sizes for each line of text. It is a midterm exercise from the Immersive Education course that I am taking at Boston College. The course is called Discovering Computer Graphics. For details, visit the immersive BC portal at http://ImmersiveEducation.org/@/bc